Overview
Minecraft modpacks are collections of mods, modifications created by players, that enhance and expand the gameplay experience in Minecraft. These modpacks allow players to customize their game by adding new features, items, creatures, and dimensions. Modpacks can range from minor and focused collections to massive compilations with hundreds of mods.
Requirement: A mod loader must be installed to run mods on a Minecraft server.
Forge guide | Neoforge guide | Fabric guide | Quilt guide
Note: Verify mod compatibility by checking the mod description.
Note: An SFTP client is required to transfer files onto the Minecraft server. Learn how to use an SFTP client here.
Note: Minecraft directory location will vary depending on the type of launcher used. For the official launcher, it can be found in %appdata%\.minecraft\ .
How To Install a Custom Modpack on a Minecraft Server (Local)
Step 1. Open the local Minecraft modpack directory.
Step 2. Take note of all the folders inside. These will vary based on the installed mods.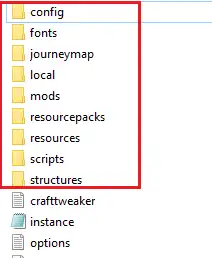
Step 3. Minimize the folder to use later in the tutorial.
Step 4. Log in to the Meloncube Games panel.
Step 5. Stop the server.![]()
Step 6. Log in to the Minecraft server using an SFTP client.![]()
Step 7. Drag and drop the folders from Step 3.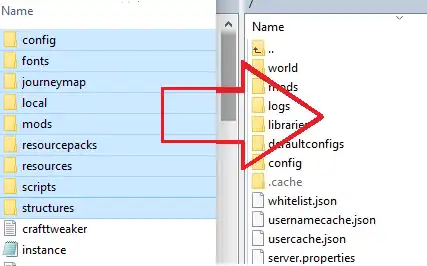
Note: Remove any client mods to avoid server issues. Check the mod description to verify.
Step 8. Return to the Meloncube Games panel and go to Config Files > Server Properties.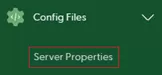
Step 9. On the Level Name field, change the name to generate a new world.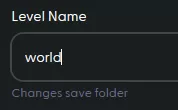
Note: To upload a custom world, see here.
Step 10. Start the server.![]()
How To Install a Custom Modpack on a Minecraft Server (Download)
Step 1. Download the server pack.zip for the modpack.
The Pixelmon Modpack for Minecraft 1.16 is used in this example.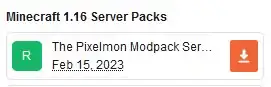
Step 2. Extract the .zip file to a folder.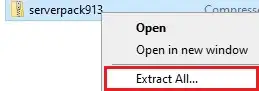
Step 3. Take note of all the folders inside. These will vary based on the modpack.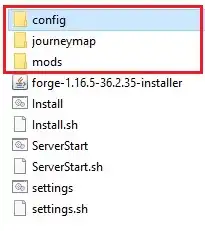
Step 4. Minimize the folder to use later in the guide.
Step 5. Log in to the Meloncube Games panel.
Step 6. Stop the server.![]()
Step 7. Log in to the Minecraft server using an SFTP client.![]()
Step 8. Drag and drop the folders from Step 4.
Step 9. Return to the Meloncube Games panel and go to Config Files > Server Properties.
Step 10. On the Level Name field, change the name to generate a new world.
Step 11. Start the server.![]()