Overview
Installing modpacks on a Minecraft server drastically expands the gameplay experience by introducing new content, mechanics, and challenges not found in the vanilla game. These curated collections of mods ensure compatibility and offer a cohesive, thematic experience for all players on the server. By simplifying the modding process, modpacks allow server owners to easily create unique and engaging environments for their communities to explore.
How To Install Modpacks on a Minecraft Server (New Instance)
Step 1. Log in to the Meloncube Games panel.
Step 2. Stop the server.![]()
Step 3. Open the Minecraft Jar menu.![]()
Step 4. Choose the preferred modpack provider on the left.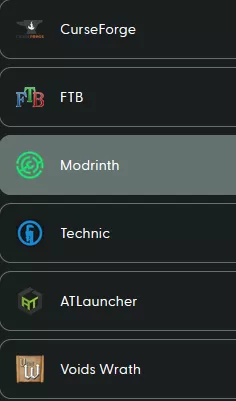
Step 5. Click Install next to the preferred modpack.![]()
Step 6. Select the Modpack Version and click Install.![]()
Step 7. Choose Save current files into an instance and create a new one from the instance dropdown, then click Next.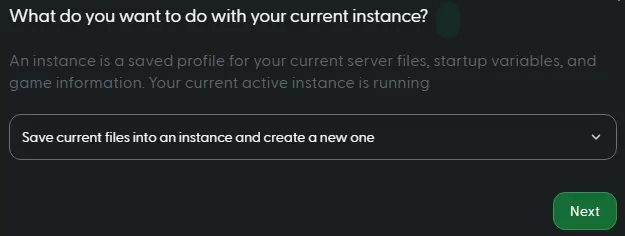
Step 8. Enter the preferred instance name.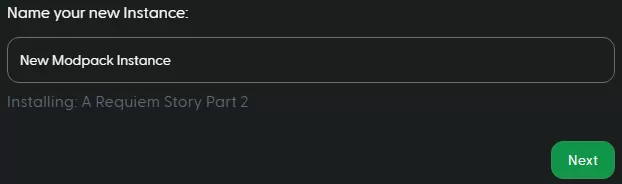
Step 9. Edit the preferred preferences.
Step 10. Press the Confirm and Load button.![]()
Step 11. Wait a few minutes for the instance to load.
Step 12. Start the server.![]()
How To Install Modpacks on a Minecraft Server (Replace Instance)
Step 1. Log in to the Meloncube Games panel.
Step 2. Stop the server.![]()
Step 3. Open the Minecraft Jar menu.![]()
Step 4. Choose the preferred modpack provider on the left.
Step 5. Click Install next to the preferred modpack.![]()
Step 6. Select the Modpack Version and click Install.![]()
Step 7. Choose Delete all files and replace with new install from the instance dropdown, then click Next.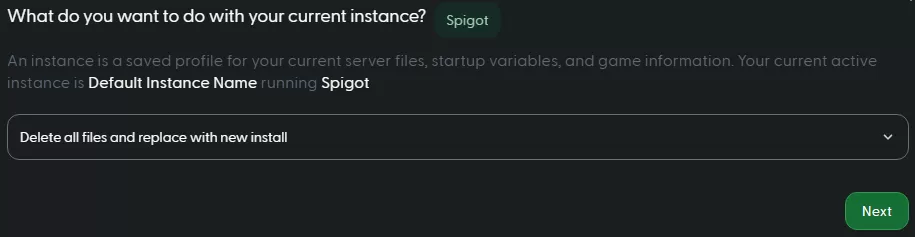
Step 8. Start the server.![]()