Overview
The MultiMC Launcher is a powerful utility that simplifies the management of Minecraft instances, catering to casual players and modding enthusiasts. It enables users to create and maintain separate Minecraft installations, making switching between different modpacks and configurations easy. With its user-friendly interface and modpack support, the MultiMC Launcher enhances the modding experience by providing a flexible and organized way to enjoy customized gameplay.
Note: Change the minimum allocated RAM to at least 4096MB (4GB) or higher to run the modpacks. Learn how to here.
How To Install the MultiMC Launcher
Step 1. Download the MultiMC Launcher here.
Step 2. Extract the downloaded file, then launch MultiMC.![]()
Step 3. Select the desired language, then choose Next.![]()
Step 4. Determine the desired Java version and memory allocation, then choose Next.![]()

![]()
Step 5. Once done, click finish.![]()
How To Install Modpacks on the MultiMC Launcher
Step 1. From the MultiMC launcher, click Add Instance.![]()
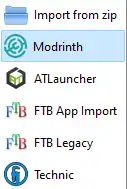
Step 2. Choose the desired Instance on the left.
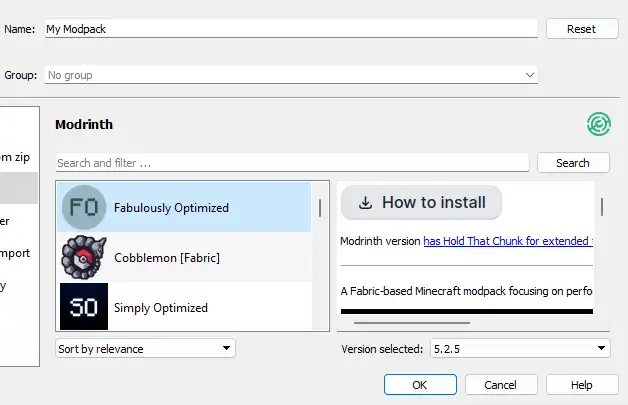
Step 3. Input any required details and select the desired modpack and version.
Step 4. Once finished, click the OK button.![]()
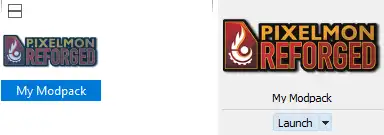
Step 5. After installation, launch the new Instance to start playing.
How To Add a Minecraft Account to the MultiMC Launcher
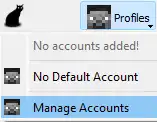
Step 1. From the MultiMC launcher, open the Profiles drop-down menu, then click Manage Accounts.
Step 2. Press the Add Microsoft/Add Mojang button and log in with the Minecraft account.![]()
