Overview
The Geyser and Floodgate plugins facilitate the integration of players using a Bedrock Edition client into a Minecraft Java Edition server. Geyser serves as a connector between the Java and Bedrock Editions, effectively translating the communication protocols of both versions. This permits Bedrock players to access Java servers seamlessly. Complementing Geyser, Floodgate operates in tandem, introducing an authentication mechanism. Bedrock players can authenticate and log into Java servers using their Microsoft or Xbox Live credentials.
Note: The server must have PaperMC or SpigotMC installed. Learn how to here.
How to Install Geyser and FloodGate on a Minecraft Java Server
Step 1. Log in to the Meloncube Games panel.
Step 2. Stop the server.![]()
Step 3. Download geyser-spigot.jar and floodgate-spigot.jar here.
Step 4. Go to the Files tab on the left.![]()
Step 5. Open the plugins folder.
Step 6. Drag and drop both .jar files from Step 3.
Step 7. Start the server, wait for it to finish booting, then stop the server.![]()
Step 8. Copy the server IP. Do not copy the port.![]()
Step 9. Go to the Files tab on the left.![]()
Step 10. Find the following directory: plugins/Geyser-Spigot/ .![]()
Step 11. Edit config.yml.
Step 12. Under bedrock:, delete # from the address: line.![]()
Step 13. Change 0.0.0.0 to the IP from Step 8. Do not copy the port.![]()
Step 14. On the port: line, take note of the port.![]()
Step 15. Click the Save Content button.![]()
Step 16. If the server is on version 1.19.1+: Go to the Server Properties tab.
Step 17. Change enforce-secure-profile to false .
Step 18. Start the server.![]()
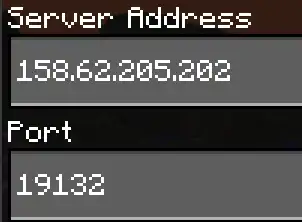
Step 19. To join the server using a Bedrock client, use the port in Step 14. 
For Java clients, use the port on the Home tab.
Note: If a Bedrock client cannot join, change the port in Step 14 to another port ranging from 19132 to 19200.
- minecraft, Minecraft server, geyser, floodgate, bedrock, minecraft java
- 2 Users Found This Useful
