Minecraft 1.20 added many new features for signs, including the ability to edit them on the fly! However, how it all works can be confusing during a player’s first try. So, today we explore how to edit signs in Minecraft and more.
Crafting Signs

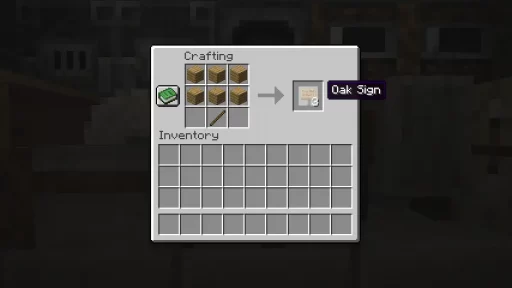
Before one can edit a sign, they first need to craft one! This is easily done on a crafting table by placing a stick at the center of the bottom row, followed by three planks on both rows above. Those interested in making hanging signs would do something similar, with two chains on the left and right sides of the top row and three stripped logs on both rows below.
How to Edit Signs

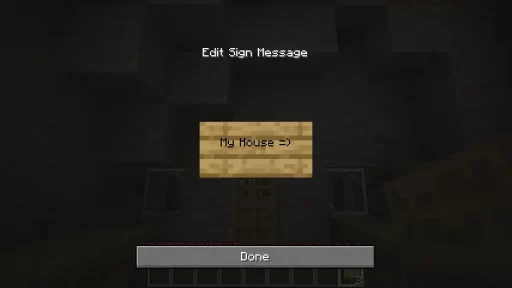
Once a sign has been placed, any player can edit it by right-clicking the sign. Doing so will bring up the sign interface where the old message can be changed or deleted entirely. However, leaving signs that can be messed with is not always ideal. Thankfully Mojang included a way to save signs so they can no longer be edited.
How to Save Signs

Saving a sign requires an item called honeycomb that may take a little time to obtain. Those seeking one will need to find a bee nest overflowing with honey and use shears on it. This will drop up to three honeycombs, but the bees will also be angry! Get ready to run unless a campfire was placed beneath it.
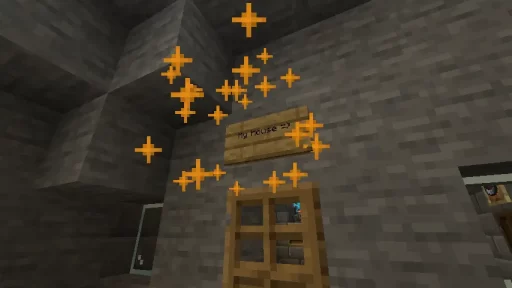
With the newly acquired honeycomb in hand, right-click the sign, and orange sparkles will signify that it has been saved.
How to Edit Signs in Minecraft
We hope our short guide has helped answer how to edit signs! Some messages are just too great to lose, like this one from us to you.
Until Next Time,
MelonCube Hosting =)

